VSMS Connect — Complete Tutorials
1. What is VSMS Connect?
VSMS Connect (Vanuatu SMS Connect) is a mobile and web application built by Code200 Solutions to help businesses in Vanuatu comply with the country’s mandatory TaxCore fiscalisation requirements.In Vanuatu, every eligible business invoice must be digitally signed by a government-certified Signing Device Controller (SDC/V-SDC) and submitted to the TaxCore platform operated by the Vanuatu Revenue Service. VSMS Connect automates this entire process — connecting your existing accounting system directly to TaxCore so that invoices are signed and submitted without any manual steps.
Who is it for?
Business owners and accountants in Vanuatu using Xero, Sage, or MYOB
Businesses operating on-premise point-of-sale systems (Amicus, Sage 100, Sage 200 Evolution, Sage 300)
Administrators who need to manage teams, locations, and compliance records
What does it do?
2. Getting Started
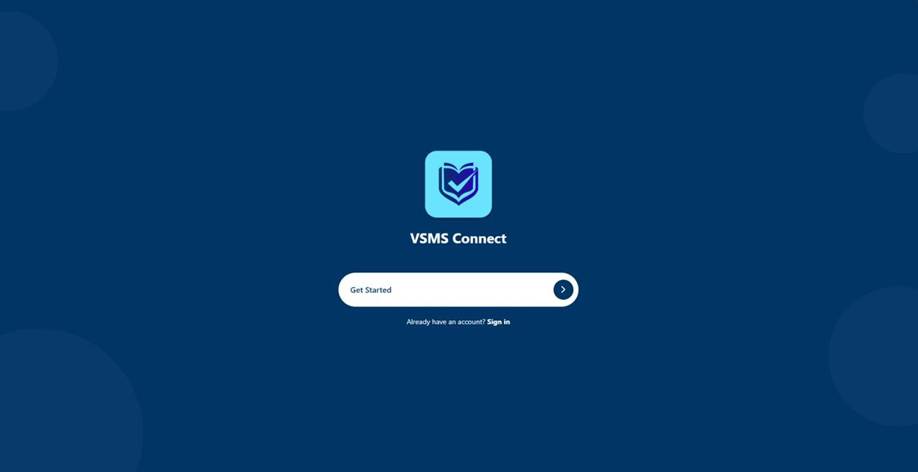
Step 1 — Create Your Account
The first person to register on a fresh VSMS Connect installation becomes the owner. Subsequent team members are added via invitation only — you cannot self-register after the first account exists.
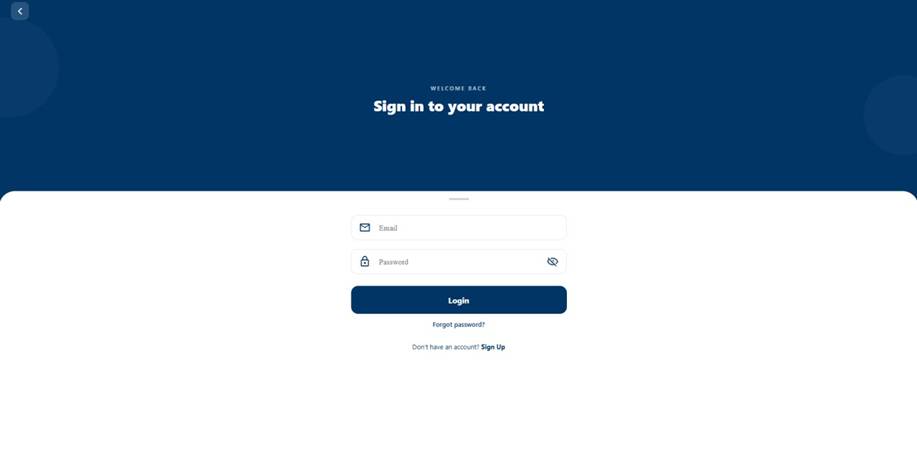
1. Open the VSMS Connect app or visit the web version.
2. On the login screen, tap Create Account.
3. Enter your full name, email address and a strong password.
4. Tap Register.
5. You will be logged in immediately.
Note: If your organisation already has an account and you have received an invitation link, tap that link instead and follow the Accept Invitation flow rather than registering from scratch.
Step 2 — Register Your Business
After creating your account you must register the business before any other features become available.
1. From the home screen, tap Register Business (or navigate to Businesses in the sidebar).
2. Fill in:
Business Name — your legal trading name
Tax Identification Number (TIN) — issued by the Vanuatu Revenue Service
Address — street, city, country
3. Tap Save.
Your business is now created. You can register multiple businesses under one account if needed.
Step 3 — Connect Your TaxCore Credentials
Your business must be linked to a V-SDC signing certificate before any invoice can be fiscalised.
1. Go to Business Registration → TaxCore Configuration (or open your business and tap Configure TaxCore).
2. Upload your PFX certificate file issued by the Vanuatu Customs and Revenue Service.
3. Enter the certificate password.
4. Enter your PAC (Provider Authentication Code) — also issued by the Revenue Service.
5. Enter your UID (unique device identifier for your V-SDC).
6. Tap Save & Verify. VSMS Connect will test the connection to TaxCore immediately. If the credentials are incorrect you will see an error — double-check your PAC and UID.
Where do I get these? Your TaxCore credentials (PFX certificate, PAC, UID) are issued by the Vanuatu Revenue Service when your EFD (Electronic Fiscal Device) is registered. Contact them or your tax agent if you do not have them.
Step 4 — Connect Your Accounting System
VSMS Connect supports three cloud accounting providers and several on-premise systems.
Cloud providers (Xero, Sage, MYOB)
1. Go to Integrations in the sidebar.
2. Tap your provider — Xero, Sage, or MYOB.
3. Tap Connect.
4. A browser window opens to your provider’s login page. Sign in with your accounting credentials and authorize VSMS Connect.
5. You are redirected back to the app. The integration status shows Connected.
Once connected, VSMS Connect begins pulling your invoices via three automatic paths:
Webhooks (Xero only) — near real-time; invoice appears within seconds of being marked as paid in Xero.
Scheduled sync — every 15 minutes, the consumer service checks for new invoices from all providers.
Manual Sync Now — tap the Sync Now button on your provider screen to force an immediate pull.
You can connect Xero, Sage, and MYOB all at the same time under the same business.
On-premise systems (Amicus, Sage 100/200 Evolution/300)
On-premise systems use the Sales Agent — a lightweight background service installed on your Windows, Linux, or macOS server that reads directly from your local POS database and pushes invoices to VSMS Connect. See Section 9 — On-Premise Sales Agent for full setup instructions.
Step 5 — Invite Your Team
1. Go to Users in the sidebar.
2. Tap Invite User.
3. Enter their email address and select a role (see role descriptions below).
4. Tap Send Invite. They will receive an email with a one-time link to set up their account.
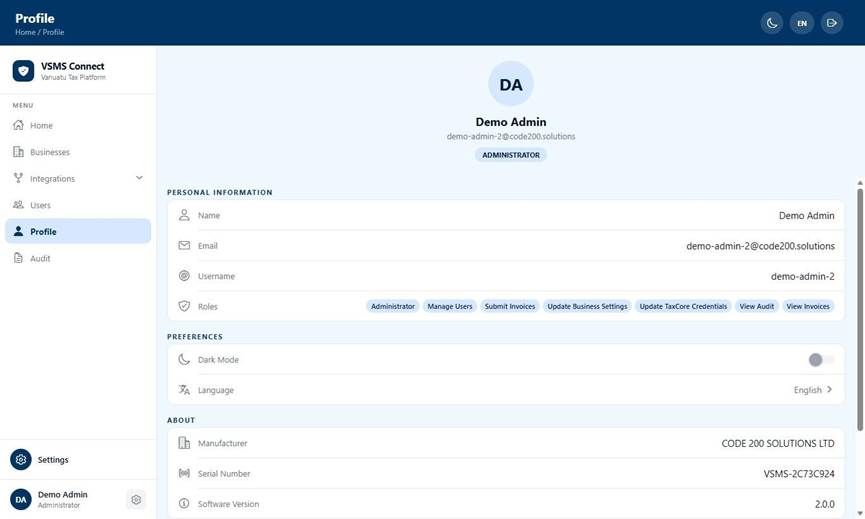
Roles explained
An Administrator can change another user’s role at any time from the Users screen.
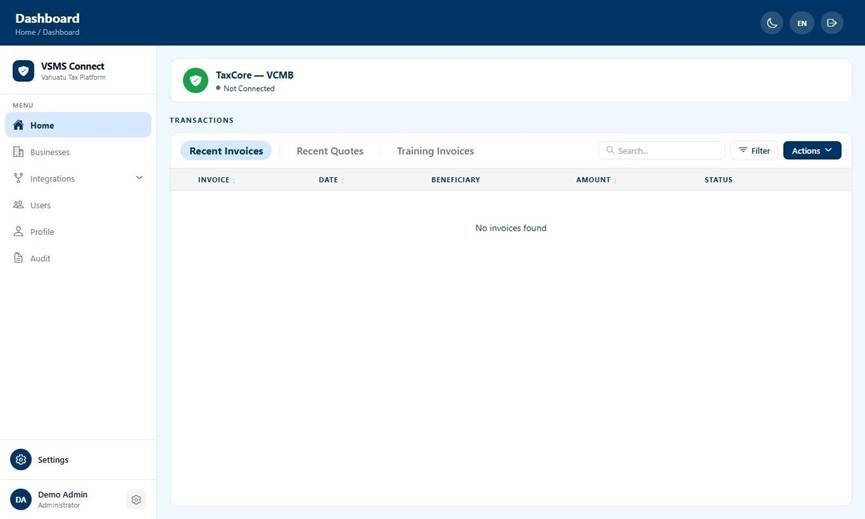
3. The Dashboard — Understanding the Home Screen
After setup, the Home screen is your main workspace. It shows all invoices pulled from your connected accounting system(s).
The Three Tabs
The home screen is divided into three tabs that filter the same invoice data:
Switching tabs resets your search, pagination, and any selection — this is by design.
Searching and Filtering
Use the search bar at the top to search by invoice number, contact name, or amount.
Use the filter icon to narrow results by status, date range, or accounting source.
Invoice Status Labels
Every invoice displays a colour-coded status:
4. Fiscalisation — How It Works
Fiscalisation is the act of digitally signing an invoice using your V-SDC and submitting it to TaxCore. In Vanuatu this is legally required for every eligible invoice your business issues.
Automatic Fiscalisation (Recommended)
By default, Auto-Fiscalise is ON. Every time a new eligible invoice is imported from your accounting system, VSMS Connect automatically:
1. Validates the invoice against your TaxCore configuration.
2. Creates a signing job and sends it to the processing queue.
3. Calls your V-SDC to sign the invoice.
4. Receives the fiscal response (invoice number, QR code, verification URL, timestamp).
5. Marks the invoice as Fiscalised.
You do not need to do anything — it happens in the background.To toggle auto-fiscalise:
1. Go to Integrations → select your provider.
2. Find the Auto-Fiscalise switch.
3. Toggle it ON or OFF.
Tip: Keep Auto-Fiscalise ON unless you have a specific reason to review invoices before submission (e.g. tax mapping issues).
You can fiscalise up to 10 invoices per job. For bulk operations, VSMS Connect automatically groups them into batches of 10.
What happens after fiscalisation?
Once an invoice is fiscalised, VSMS Connect stores:
Fiscal Invoice Number — the TaxCore-assigned number
QR Code — printable on receipts
Verification URL — customers can verify authenticity
Fiscal Timestamp — date and time of signing
Raw V-SDC Response — stored server-side for audit
These are visible on the invoice detail screen and can be printed or shared.
5. Managing Invoices
Viewing an Invoice
Tap any invoice on the Home screen to open its detail view. You will see:
Cancelling an Invoice
If an already-fiscalised invoice needs to be voided:
1. Open the invoice.
2. Tap Cancel Invoice.
3. Confirm the action.
VSMS Connect sends a cancellation fiscal request to TaxCore. The invoice is re-signed as a reversal, referencing the original fiscal number. You can also bulk-cancel up to 10 invoices at once from the Home screen using the selection checkboxes.
Copying an Invoice
A Copy creates a duplicate of a fiscalised invoice (used when a customer needs a replacement receipt):
1. Open the fiscalised invoice.
2. Tap Copy Invoice.
3. A new invoice is created with type COPY, referencing the original.
Refunding an Invoice
A Refund creates a reversal invoice:
1. Open the original fiscalised invoice.
2. Tap Refund Invoice.
3. A new invoice is created with transaction type REFUND, referencing the original payment.
Only one refund is permitted per payment on standard invoices. AMICUS on-premise invoices support multiple refunds per sale.
Understanding Payment Types
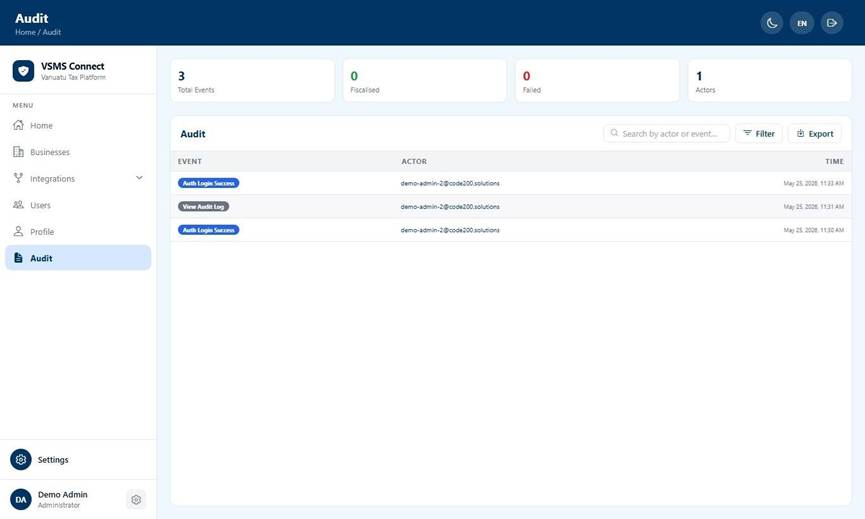
6. The Audit Log
The Audit screen is a complete, tamper-evident log of every significant action taken within your account.
What is recorded?
Every event is logged with a timestamp, the actor’s email, and relevant details:
Filtering the Audit Log
Use the filter panel to narrow results by:
Why does this matter?
The audit log is your primary evidence record for the Vanuatu Revenue Service. Keep it clean — every action is traceable to a specific user and timestamp.
7. Tax Rate Mappings
Before VSMS Connect can fiscalise an invoice, every tax rate used in that invoice must be mapped to a TaxCore tax type.
Why is this needed?
Your accounting system (Xero, Sage, MYOB) may use custom tax rate names (e.g. “VAT 15%”, “Exempt”, “Zero-rated”). TaxCore uses its own fixed set of tax type codes. VSMS Connect needs to know which of your accounting tax rates corresponds to which TaxCore code.
How to map tax rates
1. Go to Integrations → select your provider.
2. Scroll to Tax Rate Mappings.
3. Any unmapped tax rates from your imported invoices will appear here with a warning banner.
4. For each unmapped rate, select the correct TaxCore tax type from the dropdown.
5. Tap Save Mappings.
Auto-Map (Sage 200 Evolution only)
Sage 200 Evolution users can use the Auto-Map feature:
1. On the Sage 200 Evolution integration screen, tap Auto-Map Tax Rates.
2. Enter your Sage database connection details when prompted.
3. VSMS Connect reads the tax rate table directly from your Sage database and suggests mappings automatically.
4. Review and confirm the suggestions.
What happens to unmapped invoices?
Invoices with unmapped tax rates are held in Unmapped status and cannot be fiscalised. Once you save the mappings, use Reprocess Unmapped on the invoice list to re-evaluate and release them for fiscalisation.
8. Multi-Location Support
If your business operates from more than one physical location, VSMS Connect lets you manage each separately with its own signing certificate.
Setting up locations
1. Go to Business → Locations.
2. Your default Headquarters location was created automatically when you registered your business.
3. Tap Add Location to create additional locations (e.g. a second branch or warehouse).
4. Give each location a name and address.
Assigning certificates to locations
Each location can have its own V-SDC certificate:
1. Go to Business → Certificates.
2. Tap Upload Certificate and select the location it belongs to.
3. Upload the PFX file, enter the password and PAC/UID.
When an invoice is fiscalised, VSMS Connect automatically uses the certificate assigned to the location it belongs to. If no certificate is assigned to a specific location, it falls back to the default Headquarters certificate with a warning.
API Keys and locations
When you generate an API Key for an on-premise agent (see Section 9), you can optionally scope it to a specific location. Invoices pushed via that key will be automatically tagged to that location.
9. On-Premise Agents
For businesses using local point-of-sale or accounting software (Amicus, Sage 100, Sage 200 Evolution, Sage 300), VSMS Connect provides two desktop agents that run as background services on your server.
Supported systems
How it works
1. The agent connects to your local SQL Server database.
2. It reads new sales and refunds since its last run using a watermark (it remembers where it left off).
3. It maps the events to VSMS Connect’s invoice format.
4. It pushes them to your VSMS Connect account via an API Key.
5. If the push succeeds, the watermark advances. If it fails (e.g. network outage), the agent retries with automatic back-off and logs failures to a local file.
Installation
1. In VSMS Connect, generate an API Key (see Section 10).
2. Copy the Backend URL, Business ID, and API Key from the API Key Reveal screen.
3. Download the Sales Agent installer from your VSMS Connect portal.
4. Run the installer — a setup wizard will guide you through:
Step 1: Select your POS provider (AMICUS or Sage 200 Evolution)
Step 2: Enter your local database connection details (server, database name, username, password)
Step 3: Enter your VSMS Connect Backend URL, Business ID, and API Key
5. The wizard validates the connection before saving.
6. The agent installs itself as a Windows Service and starts automatically.
Print Agent
The Print Agent dispatches fiscal receipts to a connected receipt printer after each invoice is fiscalised.
How it works
1. After a fiscalisation job completes, VSMS Connect queues a print job for the associated till.
2. The Print Agent polls for pending jobs every second.
3. It sends the receipt to the configured printer using ESC/POS commands.
4. It acknowledges the job as Printed or marks it Failed.